
vite是用于替代vue-cli而推出的新一代vue项目构建工具。在vue3.0版本中,推荐我们使用vite构建vue项目
安装和搭建项目
1 | ##安装vite+vue3项目 Vite |
如果使用的是vue2进行开发可以使用Vite1的版本

切换到工作目录下
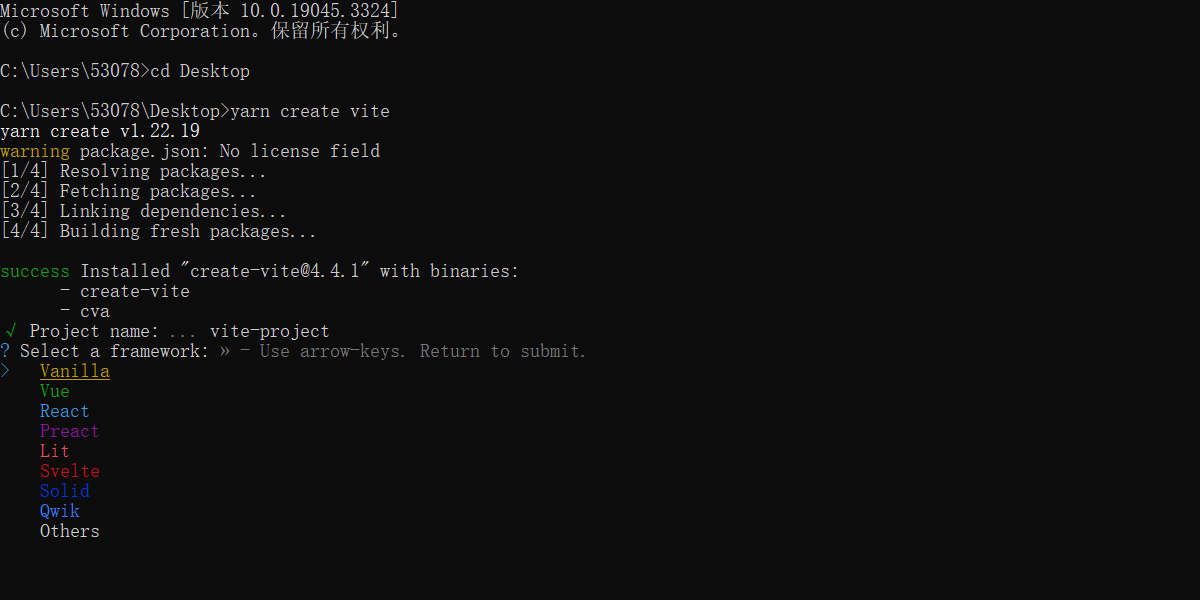
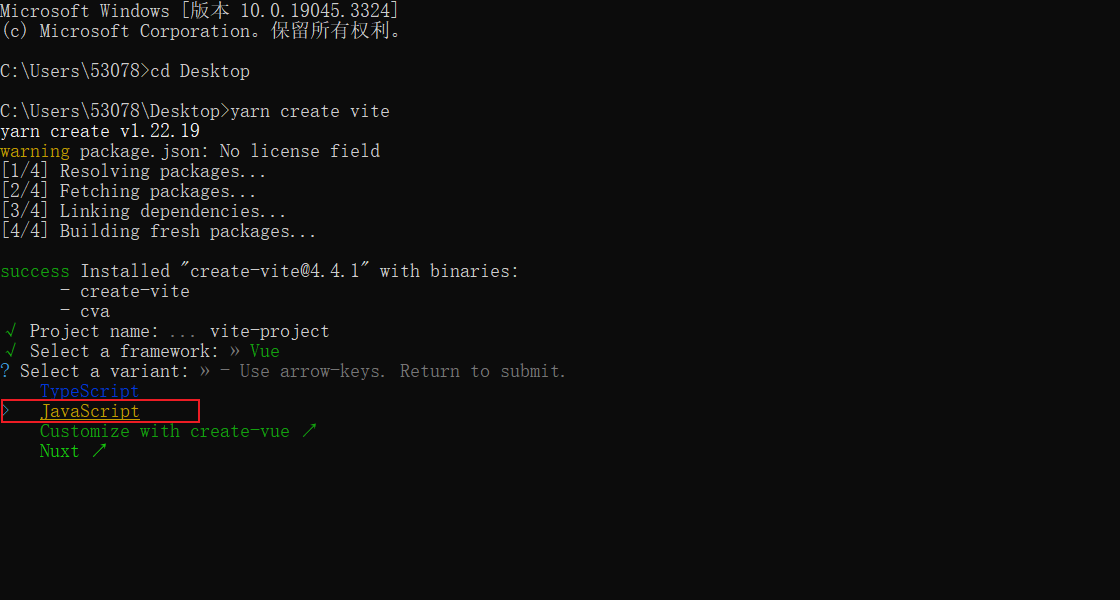
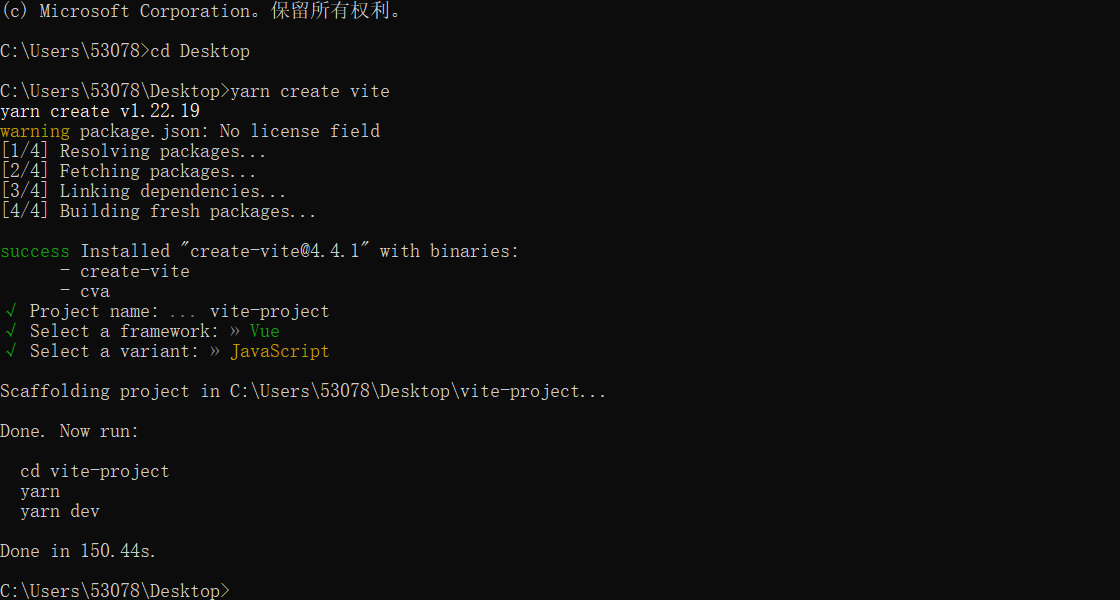
基本上回车后就构建好了,真的是非常快
1 | √ Project name: ... vite-project |
将文件使用webstorm打开,安装所需依赖
1 | yarn |

运行项目
1 | yarn dev |

启动配置
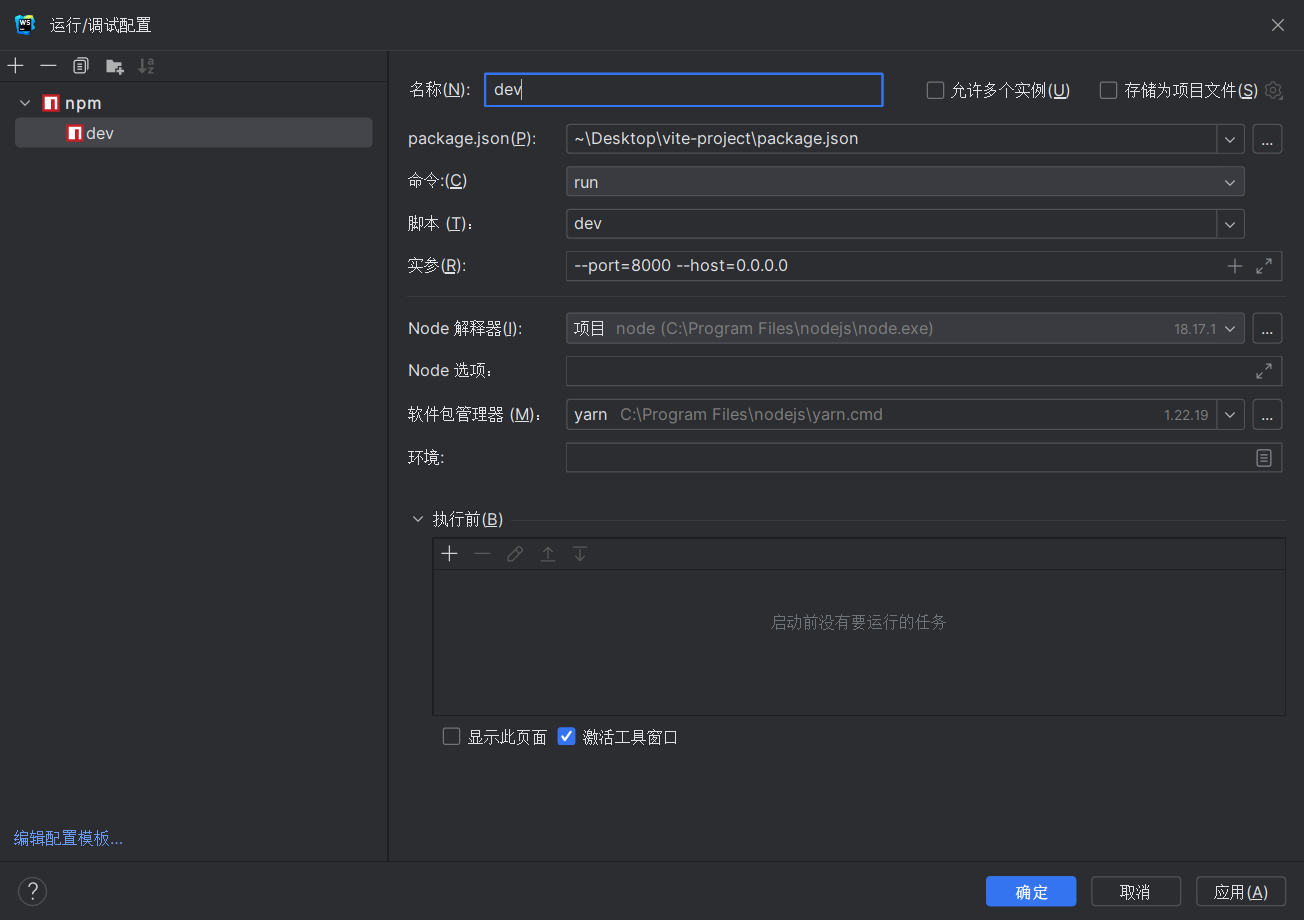
1 | --port=8000 --host=0.0.0.0 |
阅览文件发现index.html从public移至根目录,而且还多了一段导入/src/main.js的代码
1 | <script type="module" src="/src/main.js"></script> |
项目配置
项目根目录下新增了一个vitew.config.js文件,我们可以通过vite配置一些插件和外部依赖
1 | import { defineConfig } from 'vite' |
项目打包
1 | vite build |
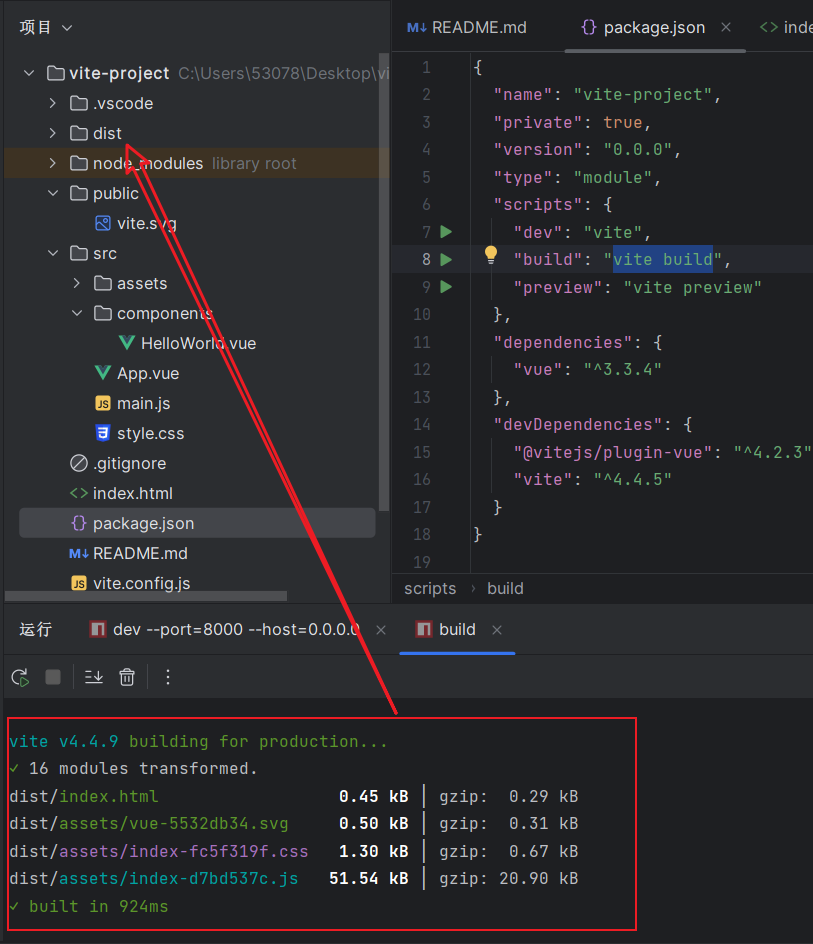
打包成功后会在根目录生成一个dist文件
不管我们使用的是vue-cli还是vite进行项目构建和管理,将来要进行项目的部署迁移到外网服务器时,都是需要使用打包后的项目代码,打包后的代码会进行压缩,并且只需要运行在http服务器下面即可。我们一般在公司里面往往使用nginx来运行打包后的web前端项目。
除了nginx,还可以使用前端开发人员经常用于进行项目测试的Iive-server测试服务器来运行打包后的vue项目代码。
1 | ##npm install -g live-server |
切换到dist目录下,运行项目,这个文件是将来部署到服务器的源码
1 | liver-server |